As 3D printers come into homes and schools, you will be looking for tools that let you make your own designs. Here are a few free titles that I think should be on your list:
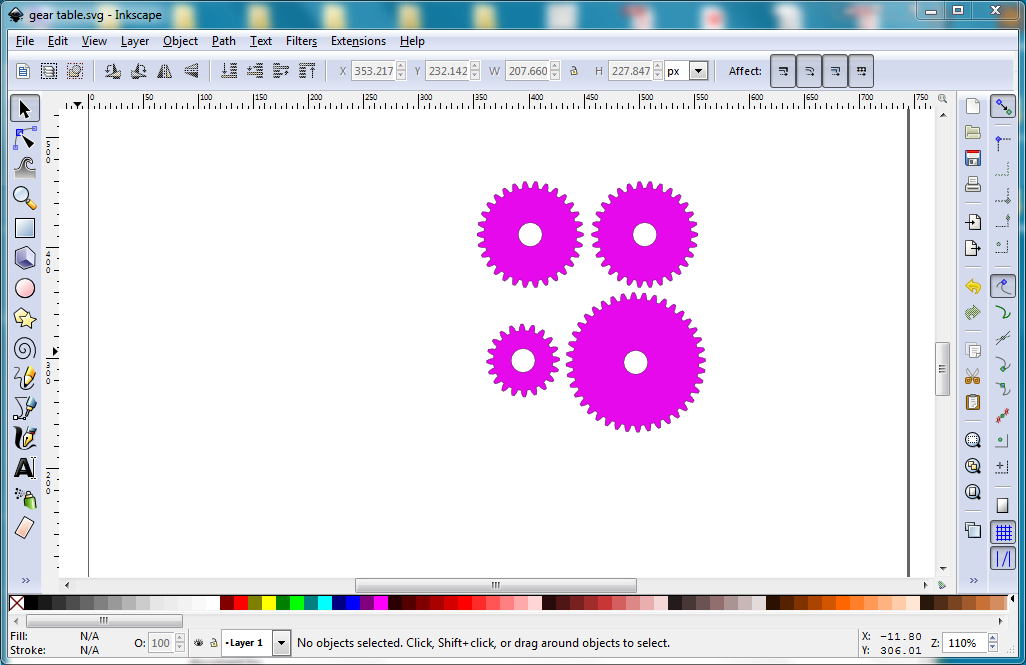
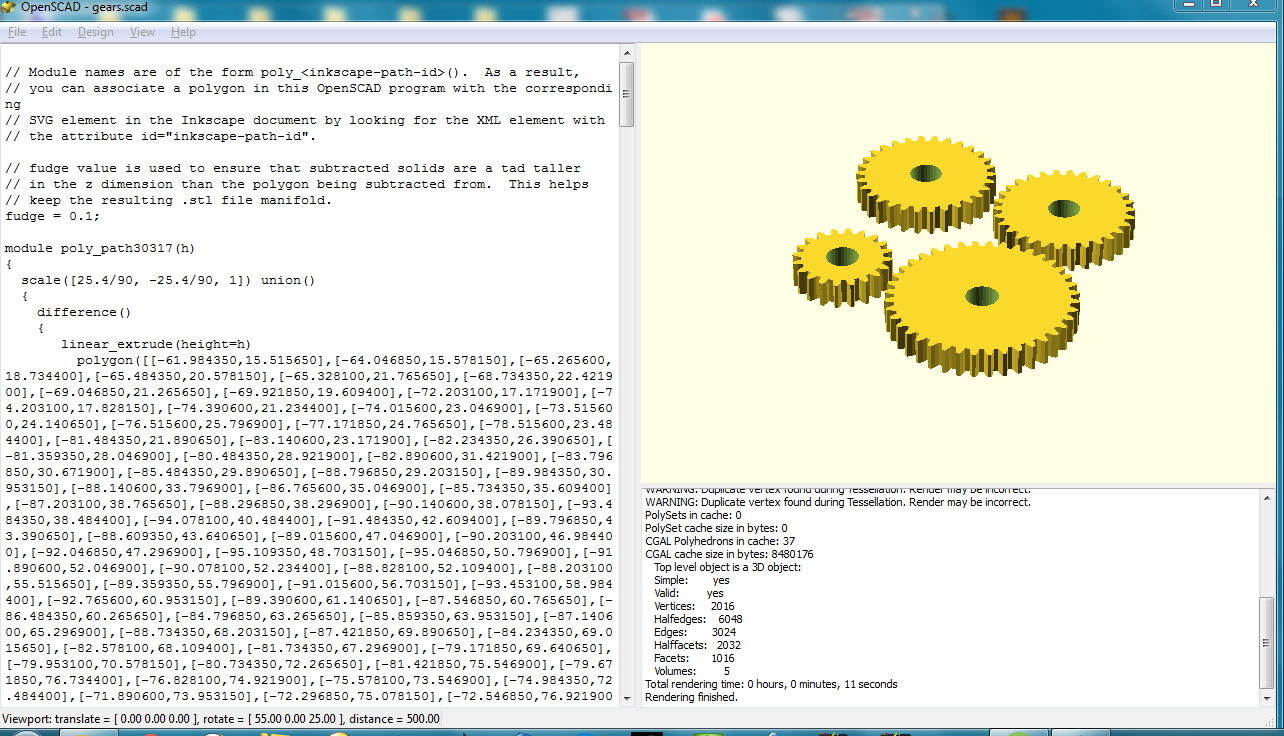
Inkscape is primarily a drawing program for two-dimensional designs. It is an amazingly powerful tool that even automates the process of drawing complex objects like gears. Drawings created in Inkscape can be saved in the SVG (scalable vector graphic) format so they look great at any magnification. You can also export images in traditional graphics formats like PNG (portable network graphic) that looks great when used on websites, etc. But the real power of Inkscape as a 3D drawing tool comes when you install the support plug-in for 3D extrusion to an OpenSCAD file (described later) that can be rendered and exported as an STL file for the printer to use. The way this works is that you select the part of the drawing you want to extrude into a three-dimensional shape. When you choose the extrusion option, you just indicate how many millimeters you want the extrusion to be, and a 3D file for OpenSCAD is generated automatically. To get this shape to your printer, the next step is to open it in OpenSCAD, compile the image, and save it as an STL file. STL (Stereolithography) files are the format your printer expects to see when it starts the process of getting your model ready to print. This sounds laborious, but it is easy to get the hang of it, and the whole process goes very quickly.
You may be wondering why I would mention a (primarily) two-dimensional drawing tool in the context of 3D printing. The reason is that, while building 3D objects on the computer screen is likely a new task to students, they probably use two-dimensional art programs all the time. Our goal is to build from this strength on the path to (later) creating designs with 3D drawing tools.
While I will largely use OpenSCAD as an extrusion tool for Inkscape, it is, in fact, a full 3D modeling program that builds models from text commands. It has its own programming language that might be appropriate for high-schoolers to play with. An advantage of building geometric models in OpenSCAD is that they can be “parameterized” – expressed in a way that lets one design make several related shapes by changing the values of a few variables. For example, a propeller can be designed in OpenSCAD in a way that lets the end user change the number and size of the blades. This is a real feature, and quite a few Thingiverse models include OpenSCAD files for just that reason. Used in this way, students can tinker with existing models to create a custom part for their construction. The final model is displayed on the screen to be sure it is what you want before saving it as an STL file.
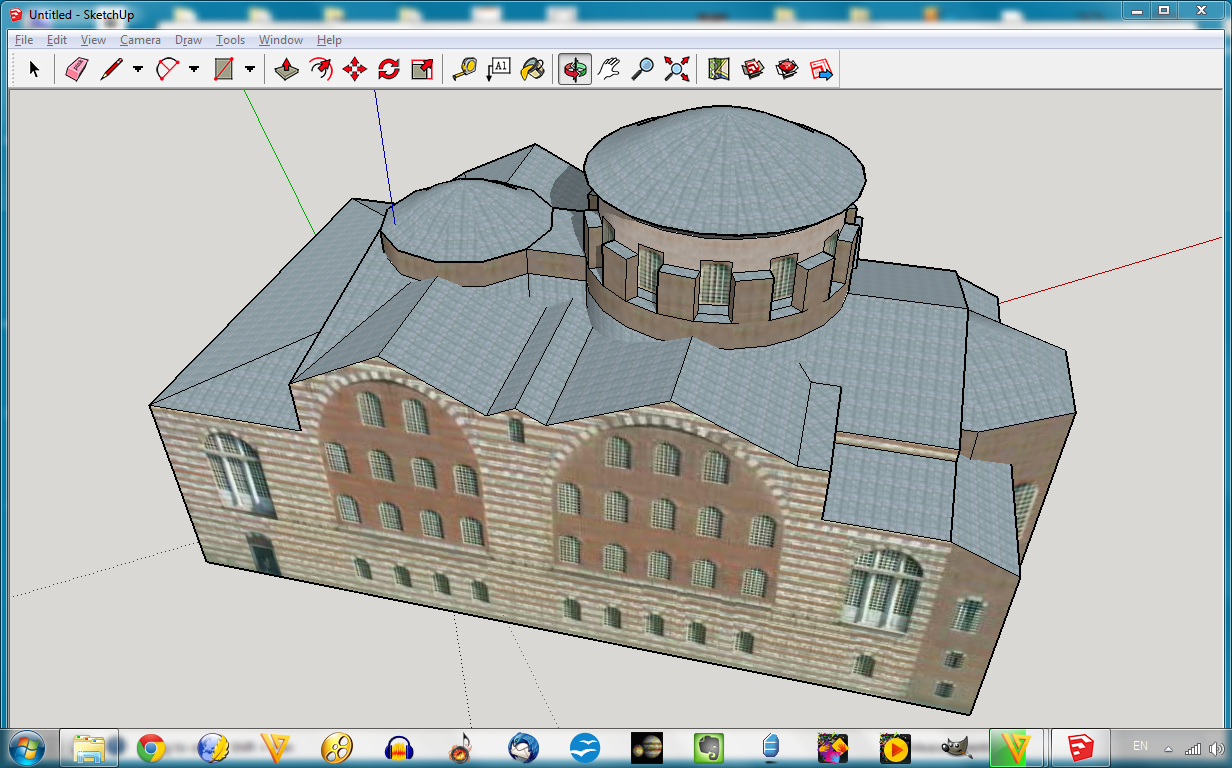
Sketchup is a professional 3D modeling tool that is super for creating geometric structures from scratch (architectural designs, for example). The free version (Sketchup Make) has all the features that students might need to build models of the parts they want to print. If your model can be built from boxes, cylinders, and balls, it is a great tool. It is not what I would choose for more organic shapes, though. The Sketchup Extension Warehouse has a free plug-in that lets you export your finished part as an STL file directly. My only caution about this tool is that it is not the best program for editing completed STL files. They show up as a mass of dots and triangles, and I haven’t found a way to render the surfaces as nicely as you can from models made in Sketchup in the first place. This is a shame, because older versions of Sketchup handled imported STL files much better. The good news is that there are many other alternatives for you to use.
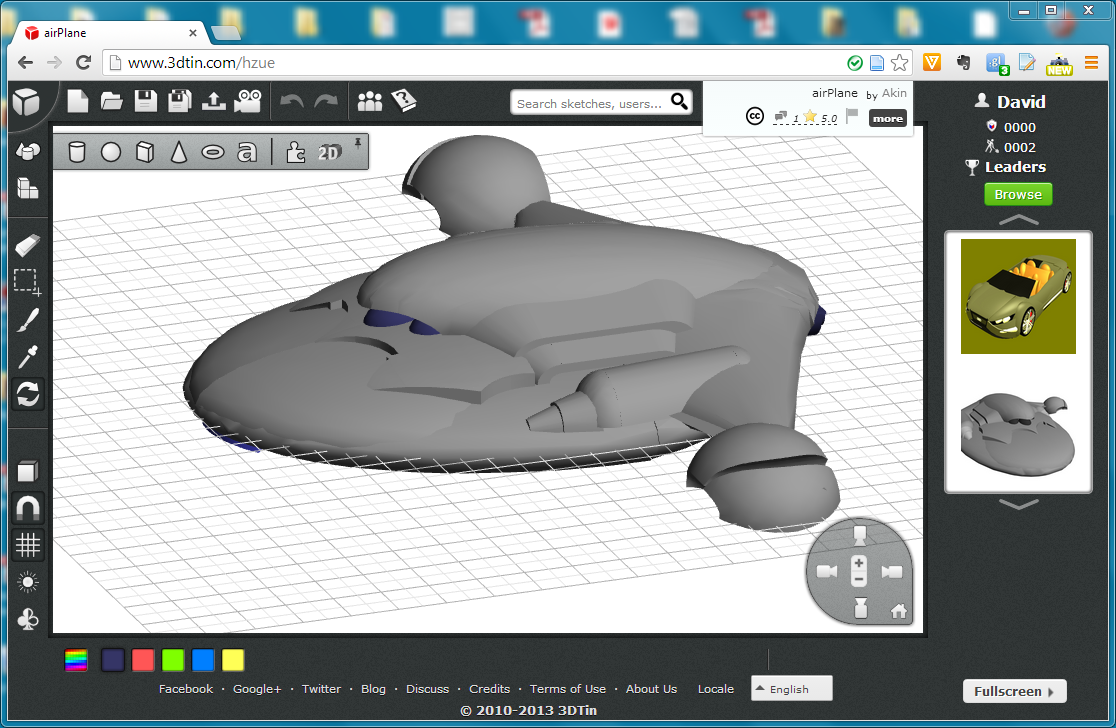
This program also lets you create projects from scratch using a library of geometric shapes. My experience is that it is easier to align parts in 3DTin than it is in Tinkercad (another cloud-based design tool). 3DTin lets you download your drawing as an STL file ready to print!
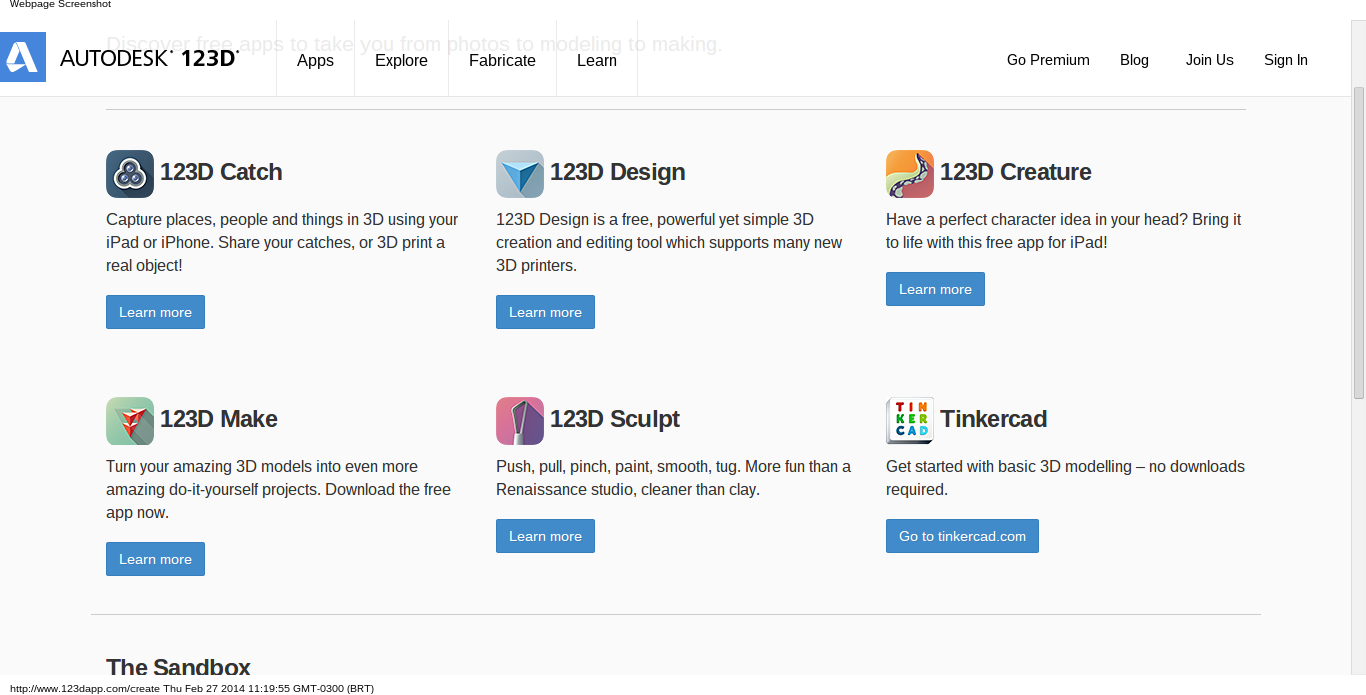
Autodesk is one of the premiere publishers on computer-aided design software. Their products are found in design firms and architects offices all over the world.
They decided to support the beginning 3D designer with a rich suite of tools that covers the gamut from parts designed from geometric pieces, to the more organic designs suitable for modeling living organisms. In fact, Clark Barnett, a teacher in the Conejo Valley Unified School District in California does a project with his kids using one of the Autodesk applications on the iPad – 123D Creature. With this tool, students design their own insects that could live in the ecosystem of their classroom. Once printed, these “insects” are mounted in a display tray and students explain why their insect is likely to survive on its own in the classroom ecosystem.
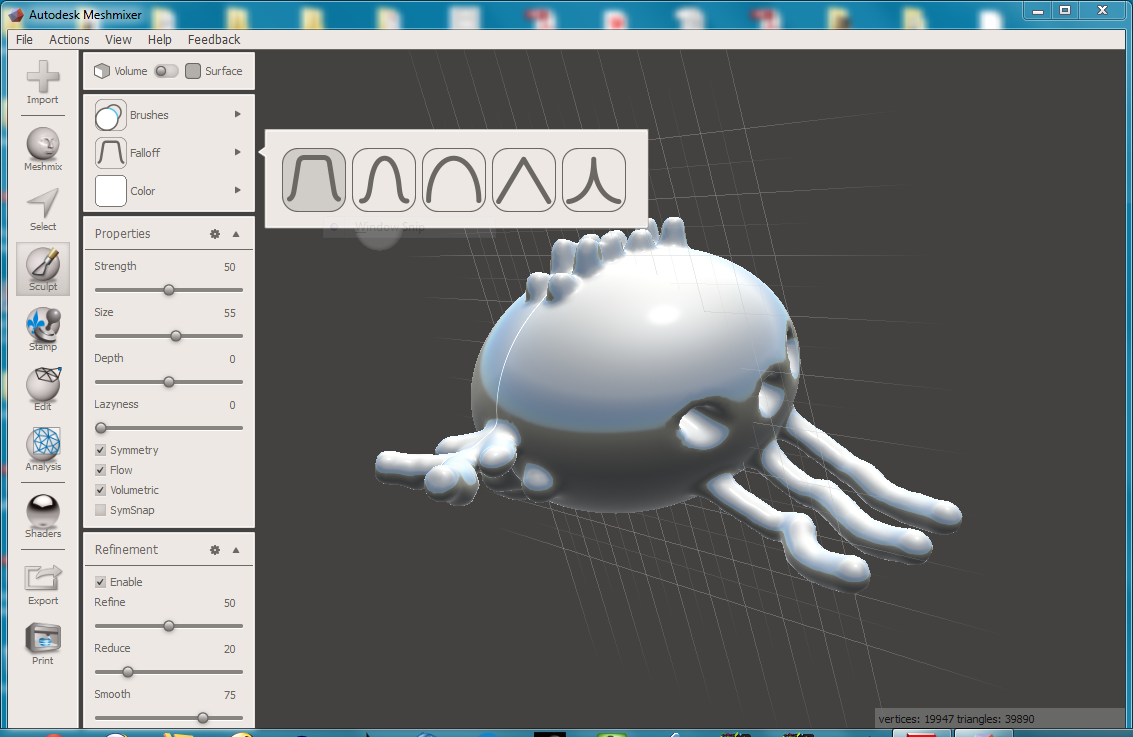
While not geared specifically for “creature” creation, Autodesk has a wonderful free product called Meshmixer that is perfect for creating organic, rather than geometric shapes.
This tool lets you sculpt by hand as if you were working with clay. Anyone who has worked with modeling clay will know how to use the tools in this program, and there is a great manual to show exactly how to get the most from this program. Tools like this bring 3D printing into the life sciences classroom.
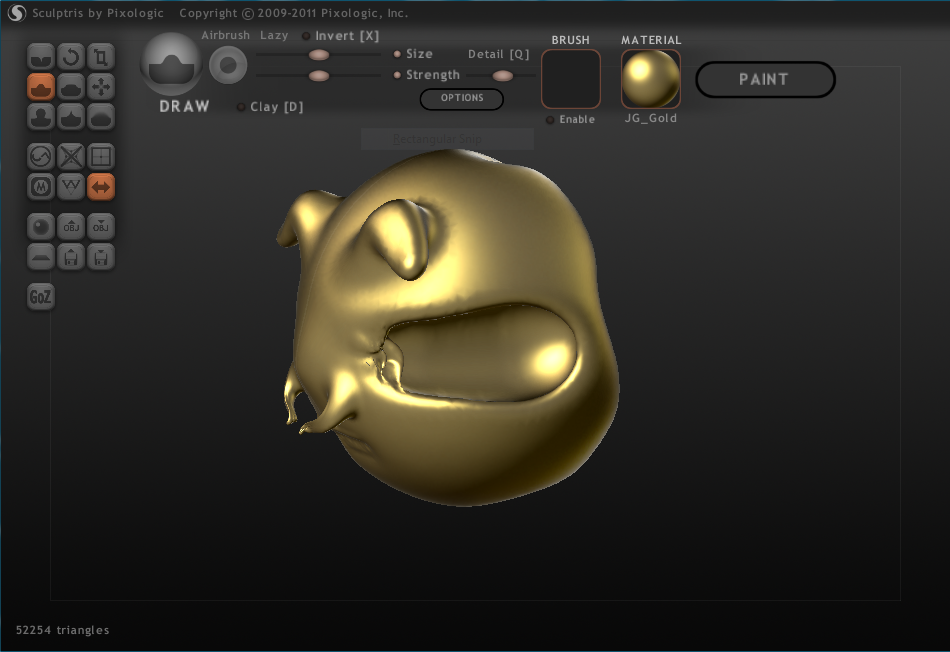
This amazing tool is a great next step for Meshmixer users. It was designed for sculptors (and would-be sculptors), instead of a blank screen you are presented with a round ball of “clay” that can be shaped into just about anything you want. While not geared toward the creation of geometric objects, it is a perfect tool for building models of various creatures – both real and imagined. Finished projects are exported as OBJ files that can be easily converted to STL files by Meshlab (see below). Once you start working with this tool, hours happily go by as you build amazing things, all of which can be built on your 3D printer. This software comes with good documentation and links to some video tutorials I highly recommend for anyone interested in this tool.
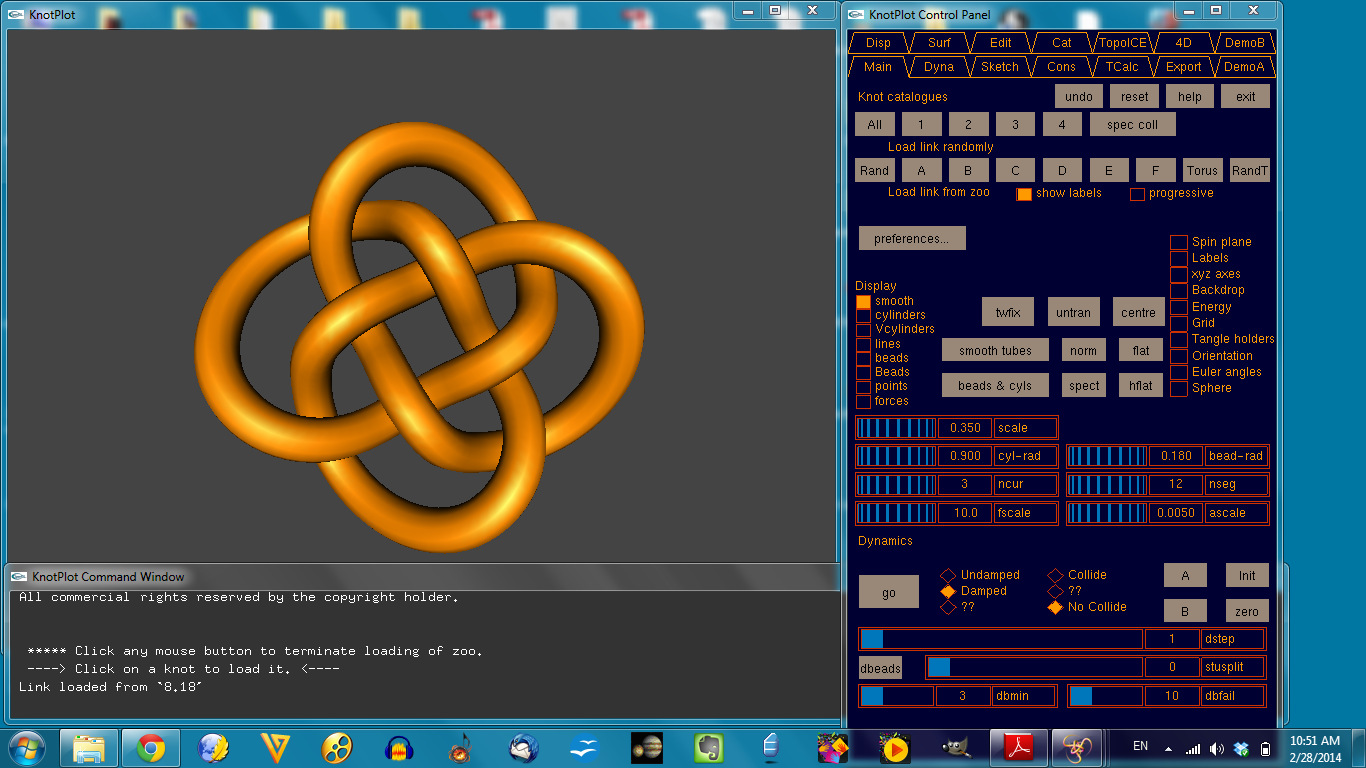
This program lets you build mathematical knots of all kinds. While created for math geeks, knots are pretty to look at, and students can use this program to explore this branch of mathematics – a worthwhile activity in itself. One great feature of this program is that it lets you export your finished knot as an OBJ file if you want to tweak it in Meshlab (see below). You can also export your image as an STL file directly and send it to your printer software with no further work required. Finished knots can be sent out for metal plating in case you want to make your own jewelry. (You probably have some service providers in your area that will do this inexpensively.)
Other tools:
Sometimes (as with Sculptris) your 3D images will be exported as OBJ files that need to be converted to STL files so they can be printed. Meshlab does this job beautifully and even lets you adjust the mesh from which the model is defined to optimize it for printing. This optimization process lets you clean up your model so it will print perfectly.
This is the plug-in you need to allow Inkscape to create extrusions for OpenSCAD. All the instructions are provided in the web link shown above.
And there are more good programs coming out all the time, so keep your eyes open and let us know what you find (info@knights-of-knowledge.com)!


 environment. NASA has decided to open the design process for some parts for the Station to the public. For example, people are encouraged to submit designs for a handrail clamp to hold various objects (